
Every year, we throw a big Halloween party at our house, and it's one of my favorite traditions. We love having all our friends and family over, the kids running around in their costumes, something delicious cooking on the stove, and everyone coming and going throughout the night. It makes me love this time of year even more.
And of course, you can't have a Halloween party without a few spooky treats.
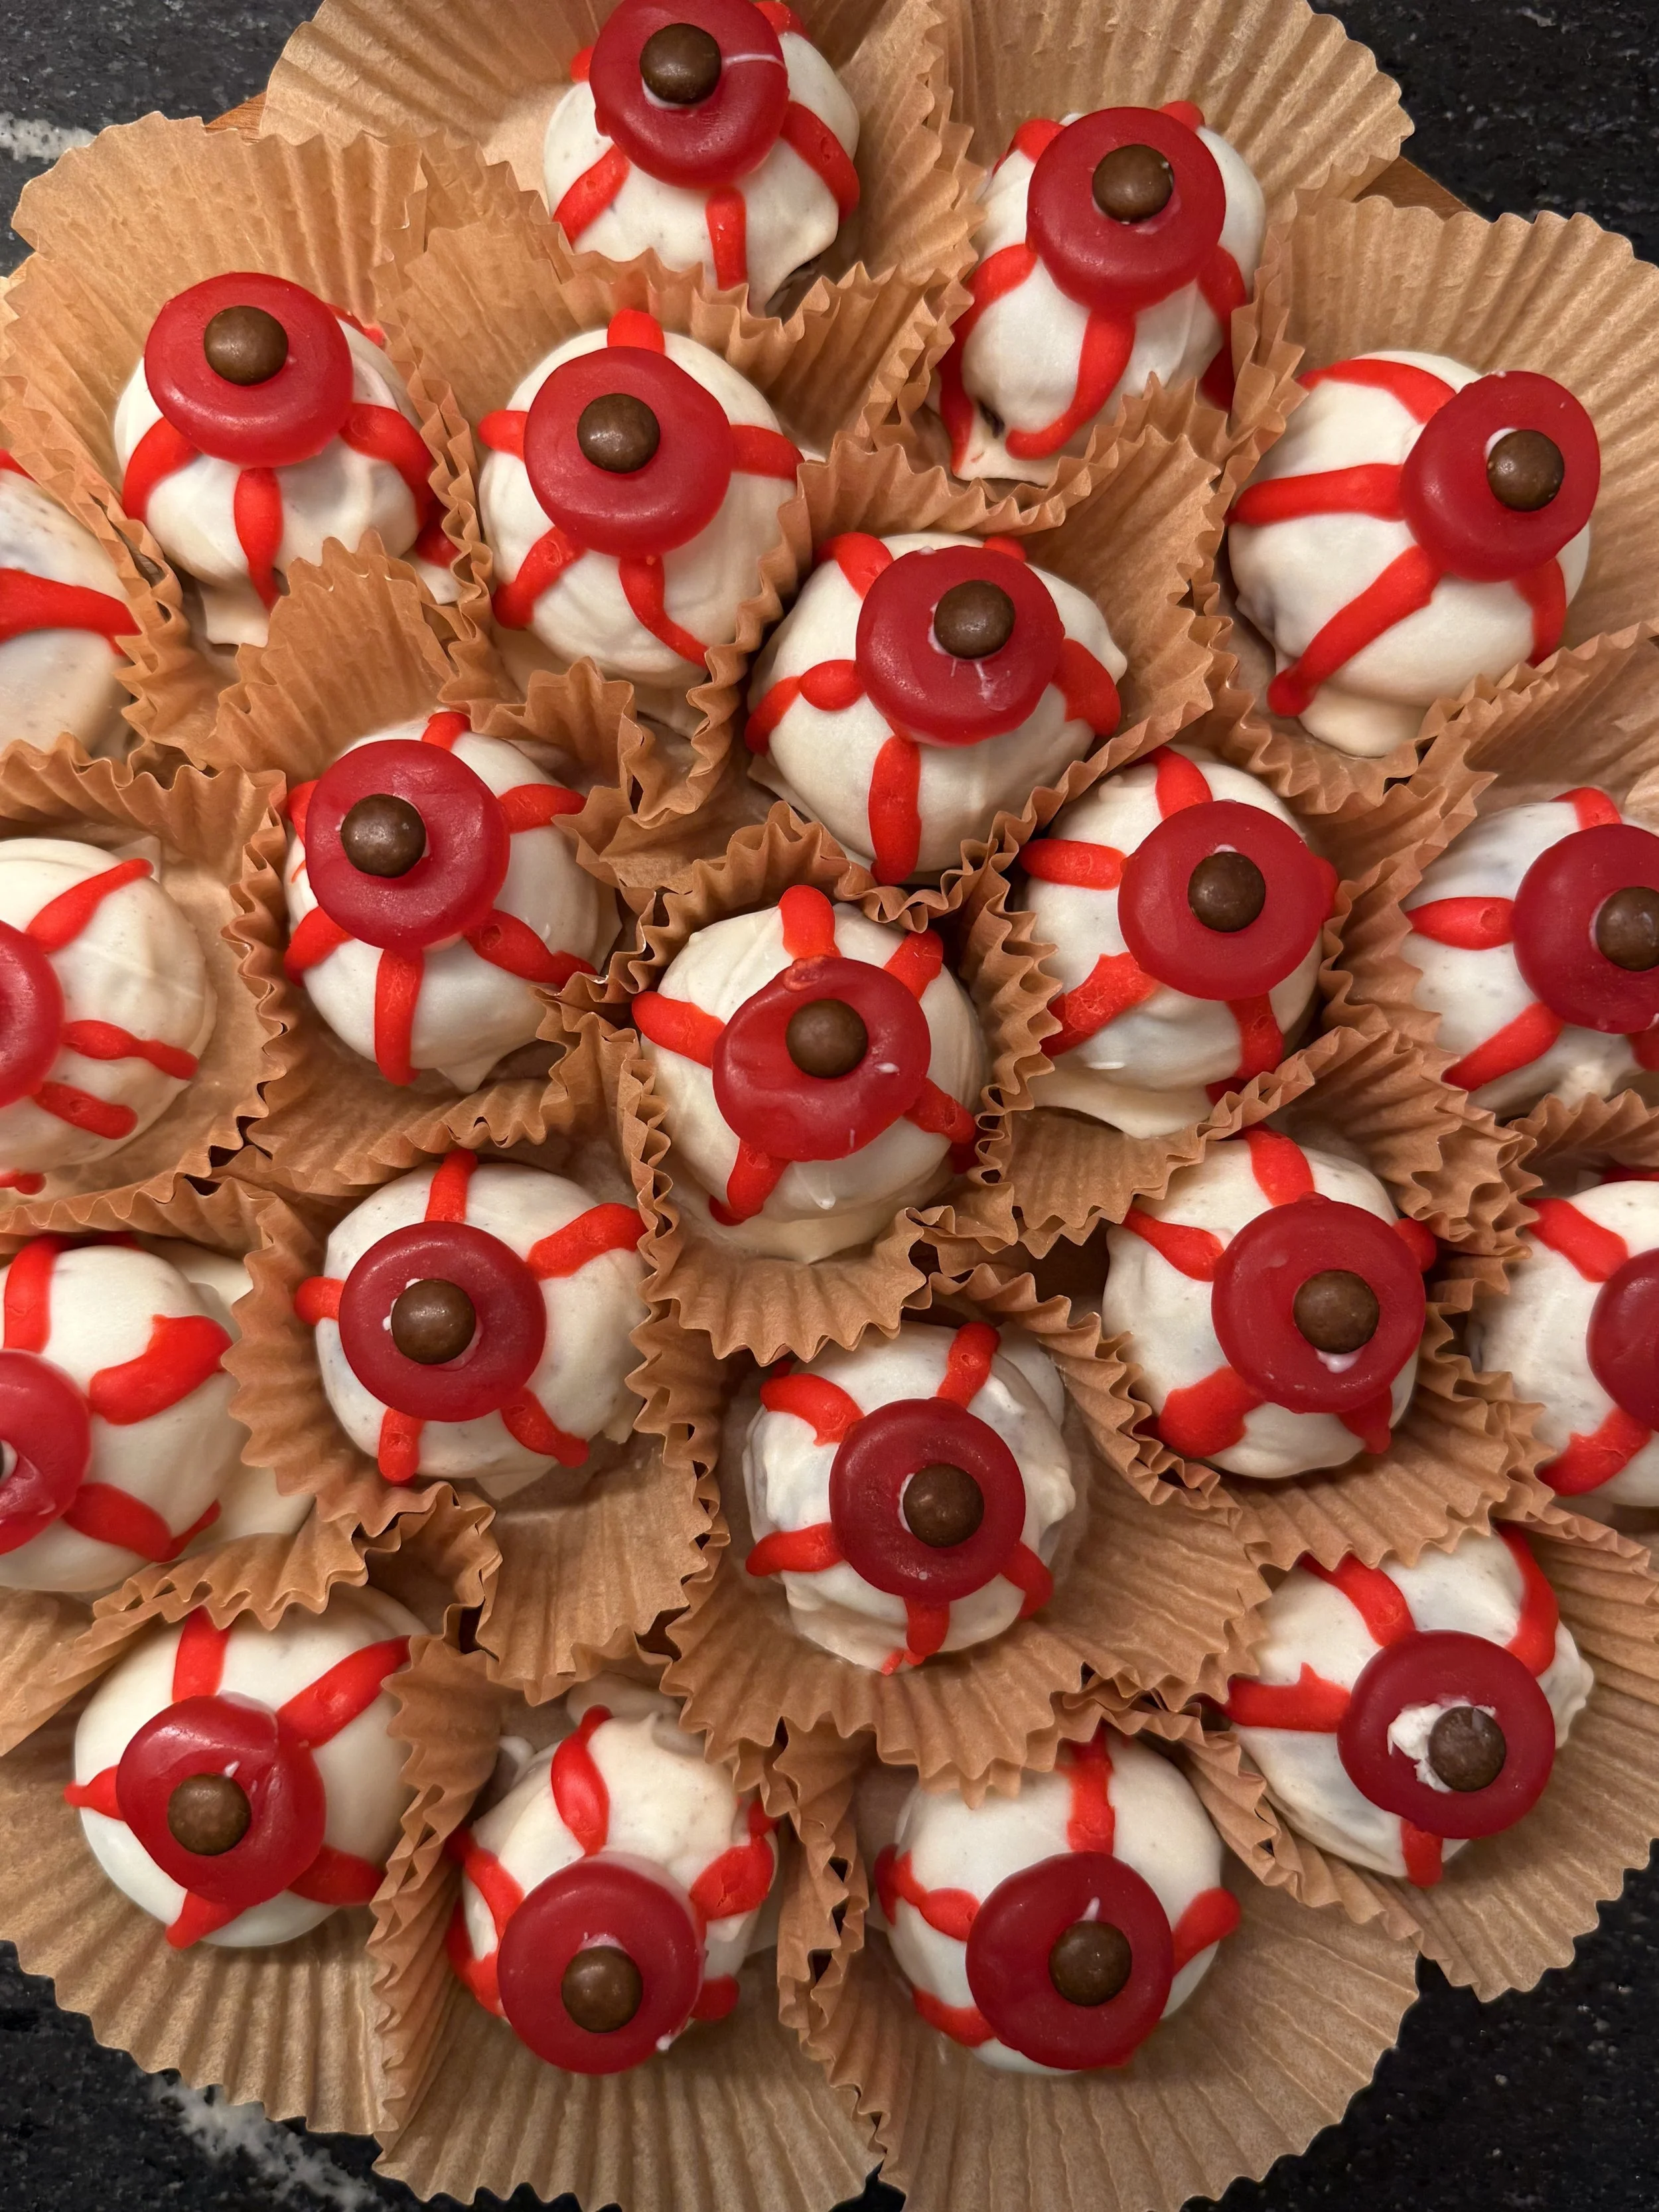
This year, my sister-in-law Mariah brought over the CUTEST little eyeball desserts, and I knew immediately that I had to share them with you. Not only were they adorable (in a slightly creepy way, obviously), but they were also so delicious.
She got the idea from a recipe by The Pioneer Woman that uses doughnut holes dipped in white candy melts and decorated to look like bloodshot eyeballs. But Mariah decided to switch things up and make the inside with crushed Oreos and cream cheese instead. And you guys. SO GOOD.
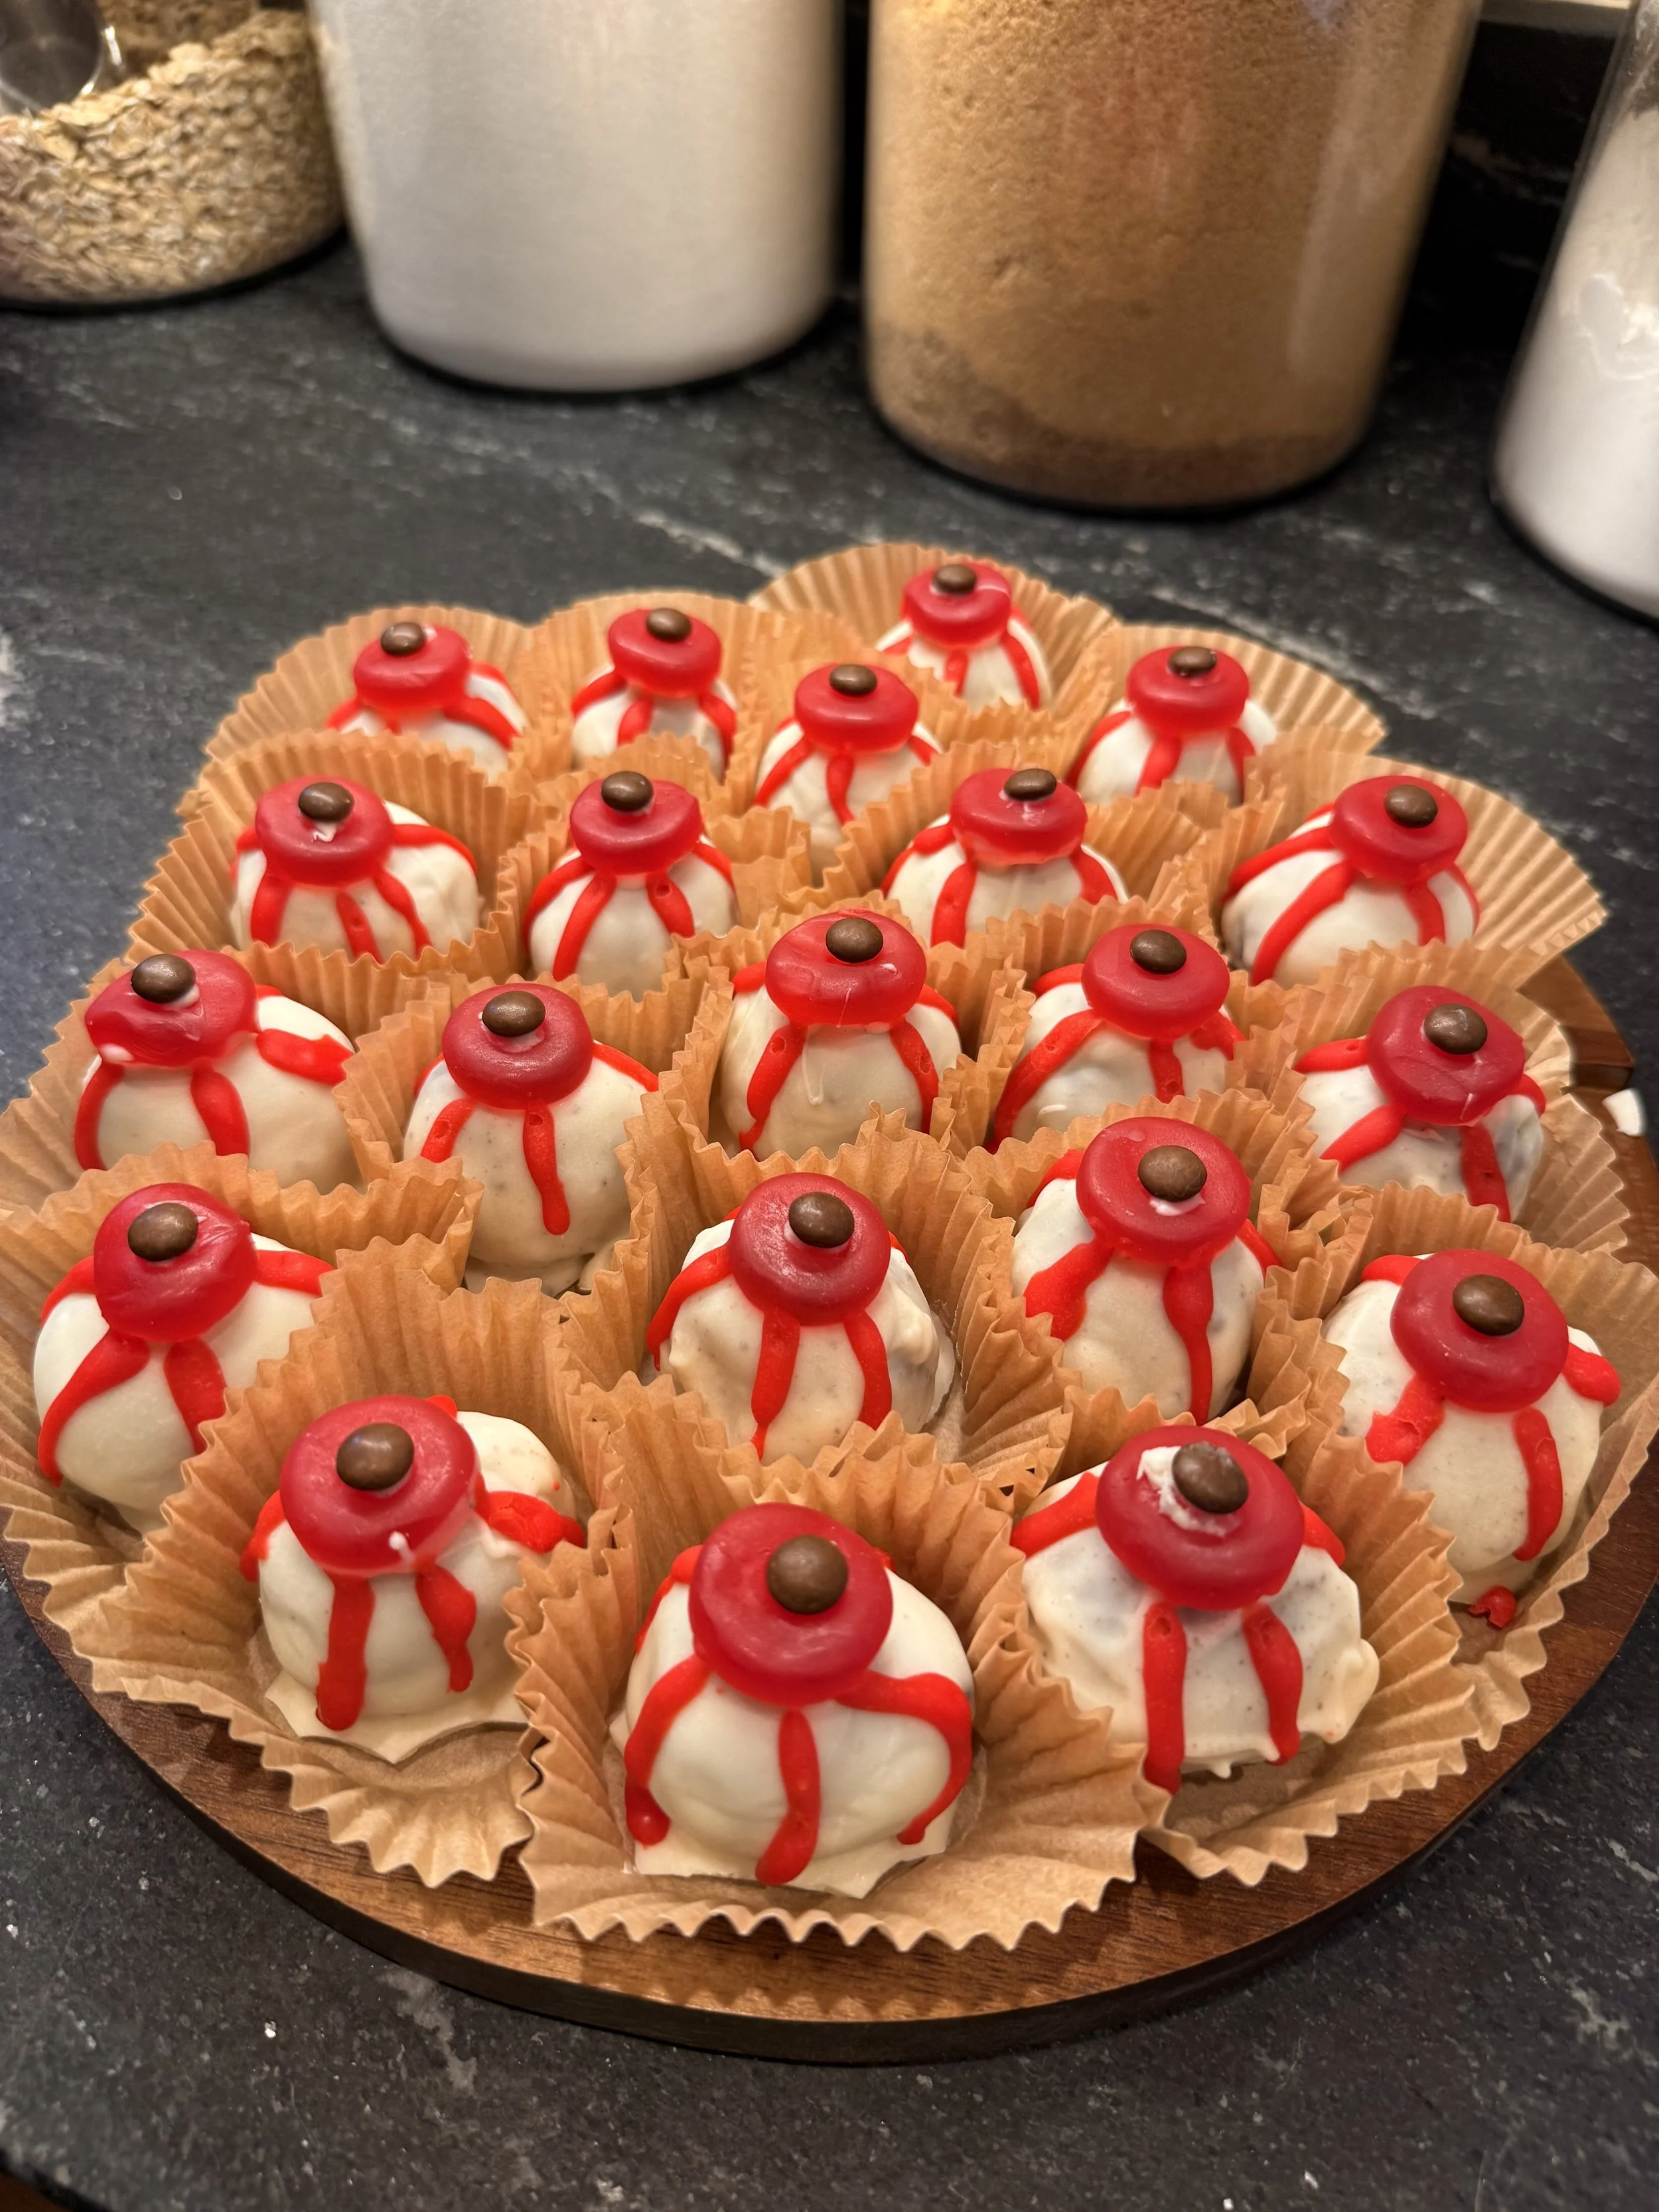
They’re Oreo truffles covered in a sweet white candy shell, topped with colorful gummy rings and little chocolate pupils, with red candy veins running down the sides. They're perfectly spooky without being too scary, and they're surprisingly easy to make.
The best part is there’s no baking required.
These would be so fun to make with the kids leading up to Halloween, or to bring to a school party, neighborhood gathering, or Halloween movie night.
Spooky Oreo Eyeball Truffles
Prep Time: 30 minutes
Chill Time: 30 minutes
Total Time: About 1 hour
Servings: Approximately 24 eyeballs
Ingredients
For the Oreo truffles:
1 package (13.29 oz) Oreo cookies, about 33 cookies
8 oz cream cheese, softened
20–24 oz white candy melts, for coating
For decorating:
24 gummy rings, such as Life Savers Gummies
24 brown mini M&M's
3–4 oz red candy melts, for the bloodshot veins
Instructions
1. Crush the Oreos.
Place the Oreo cookies (filling and all!) into a food processor and pulse until they become fine crumbs. If you don't have a food processor, you can put them in a large zip-top bag and crush them with a rolling pin.
2. Make the filling.
In a large bowl, combine the crushed Oreos and softened cream cheese. Mix until everything is completely incorporated and you have a thick, dough-like mixture.
3. Roll into balls.
Scoop out approximately 1 tablespoon of the Oreo mixture at a time and roll it between your hands to form smooth balls. Place them on a baking sheet lined with parchment paper.
4. Chill.
Refrigerate the Oreo balls for at least 30 minutes, or until firm. This helps them hold their shape when dipped in the melted candy coating.
5. Melt the white candy melts.
Place the white candy melts in a microwave-safe bowl and heat according to the package directions, stirring frequently until smooth.
6. Dip the Oreo balls.
Using a fork, dip each chilled Oreo ball into the melted white candy coating, making sure it's completely covered. Lift it out, gently tap off any excess coating, and place it back onto the parchment-lined baking sheet.
7. Add the eyeballs.
While the white coating is still soft, gently press a gummy ring onto the top of each Oreo ball. Place a brown mini M&M in the center of the gummy ring to create the pupil. If the coating has already hardened, use a tiny dab of melted white candy to secure everything in place.
8. Make them bloodshot!
Melt the red candy melts according to the package instructions and transfer to a small piping bag or zip-top bag with a tiny corner snipped off.
Carefully pipe thin, squiggly red lines down the sides of each eyeball to create the appearance of bloodshot veins. They don't need to be perfect. In fact, the messier and creepier, the better!
9. Let them set.
Allow the candy coating to harden completely before serving. You can pop them into the refrigerator for a few minutes to speed things up.
A Few Tips
Make them ahead of time. These are perfect for preparing the day before your Halloween party. Just store them in an airtight container in the refrigerator until you're ready to serve.
Use the entire Oreo. There's no need to scrape out the cream filling. Just crush the whole cookie and mix it with the cream cheese.
Don't skip chilling the filling. Cold Oreo balls are much easier to dip into the melted candy coating, and they're less likely to fall apart.
Have fun with the decorations. Different colored gummy rings make the eyeballs look even more realistic (and a little more unsettling). Green, blue, and red are all fun choices.
Keep them refrigerated. Because the filling contains cream cheese, store any leftovers in an airtight container in the refrigerator for up to 5 days.
I think one of my favorite things about hosting our Halloween party every year is seeing what everyone brings. There's always something unexpected, something delicious, and usually something that becomes a new favorite. These little eyeballs were definitely one of those things.
They're simple, festive, and just creepy enough to make you do a double take when you see them sitting on the dessert table. And honestly, anything involving Oreos and cream cheese is going to be a winner in my book.
Thank you, Mariah, for bringing these to our party and introducing us to what might just become a new Halloween tradition around here.
Happy Halloween!
Inspired by The Pioneer Woman's Halloween eyeball doughnut holes, with Mariah's delicious Oreo truffle twist.