
Subscribe to our Newsletter
Okay McKay is our best-selling newsletter, and is ranked among the top Culture newsletters on Substack. Sign up for personal essays and Q&A’s you won’t see anywhere else.
Parenthood


Marriage & Relationships


Design


Food


Style


Refugees


Blog Archive
- July 2026
- June 2026
- March 2026
- February 2026
- January 2026
- December 2025
- November 2025
- October 2025
- September 2025
- August 2025
- July 2025
- June 2025
- May 2025
- April 2025
- March 2025
- January 2025
- December 2024
- November 2024
- October 2024
- September 2024
- August 2024
- July 2024
- May 2024
- April 2024
- March 2024
- February 2024
- January 2024
- December 2023
- November 2023
- October 2023
- September 2023
- August 2023
- July 2023
- June 2023
- May 2023
- April 2023
- March 2023
- February 2023
- January 2023
- December 2022
- November 2022
- October 2022
- September 2022
- August 2022
- July 2022
- June 2022
- May 2022
- April 2022
- March 2022
- February 2022
- January 2022
- December 2021
- November 2021
- October 2021
- September 2021
- August 2021
- July 2021
- June 2021
- May 2021
- April 2021
- March 2021
- February 2021
- January 2021
- December 2020
- November 2020
- October 2020
- September 2020
- August 2020
- July 2020
- June 2020
- May 2020
- April 2020
- March 2020
- February 2020
- January 2020
- December 2019
- November 2019
- October 2019
- September 2019
- August 2019
- July 2019
- June 2019
- May 2019
- April 2019
- March 2019
- February 2019
- January 2019
- December 2018
- November 2018
- October 2018
- September 2018
- August 2018
- July 2018
- June 2018
- May 2018
- April 2018
- March 2018
- February 2018
- January 2018
- December 2017
- November 2017
- October 2017
- September 2017
- August 2017
- July 2017
In Our Cart
-
![]()
Under Eye Patches
-
![]()
Neck Fan
-
![]()
Nose Strips
-
![]()
PJ's Favorite Hat
-
![]()
Thomas's Phone Case
-
![]()
PJ's Favorite Shorts


shop the weekly edits


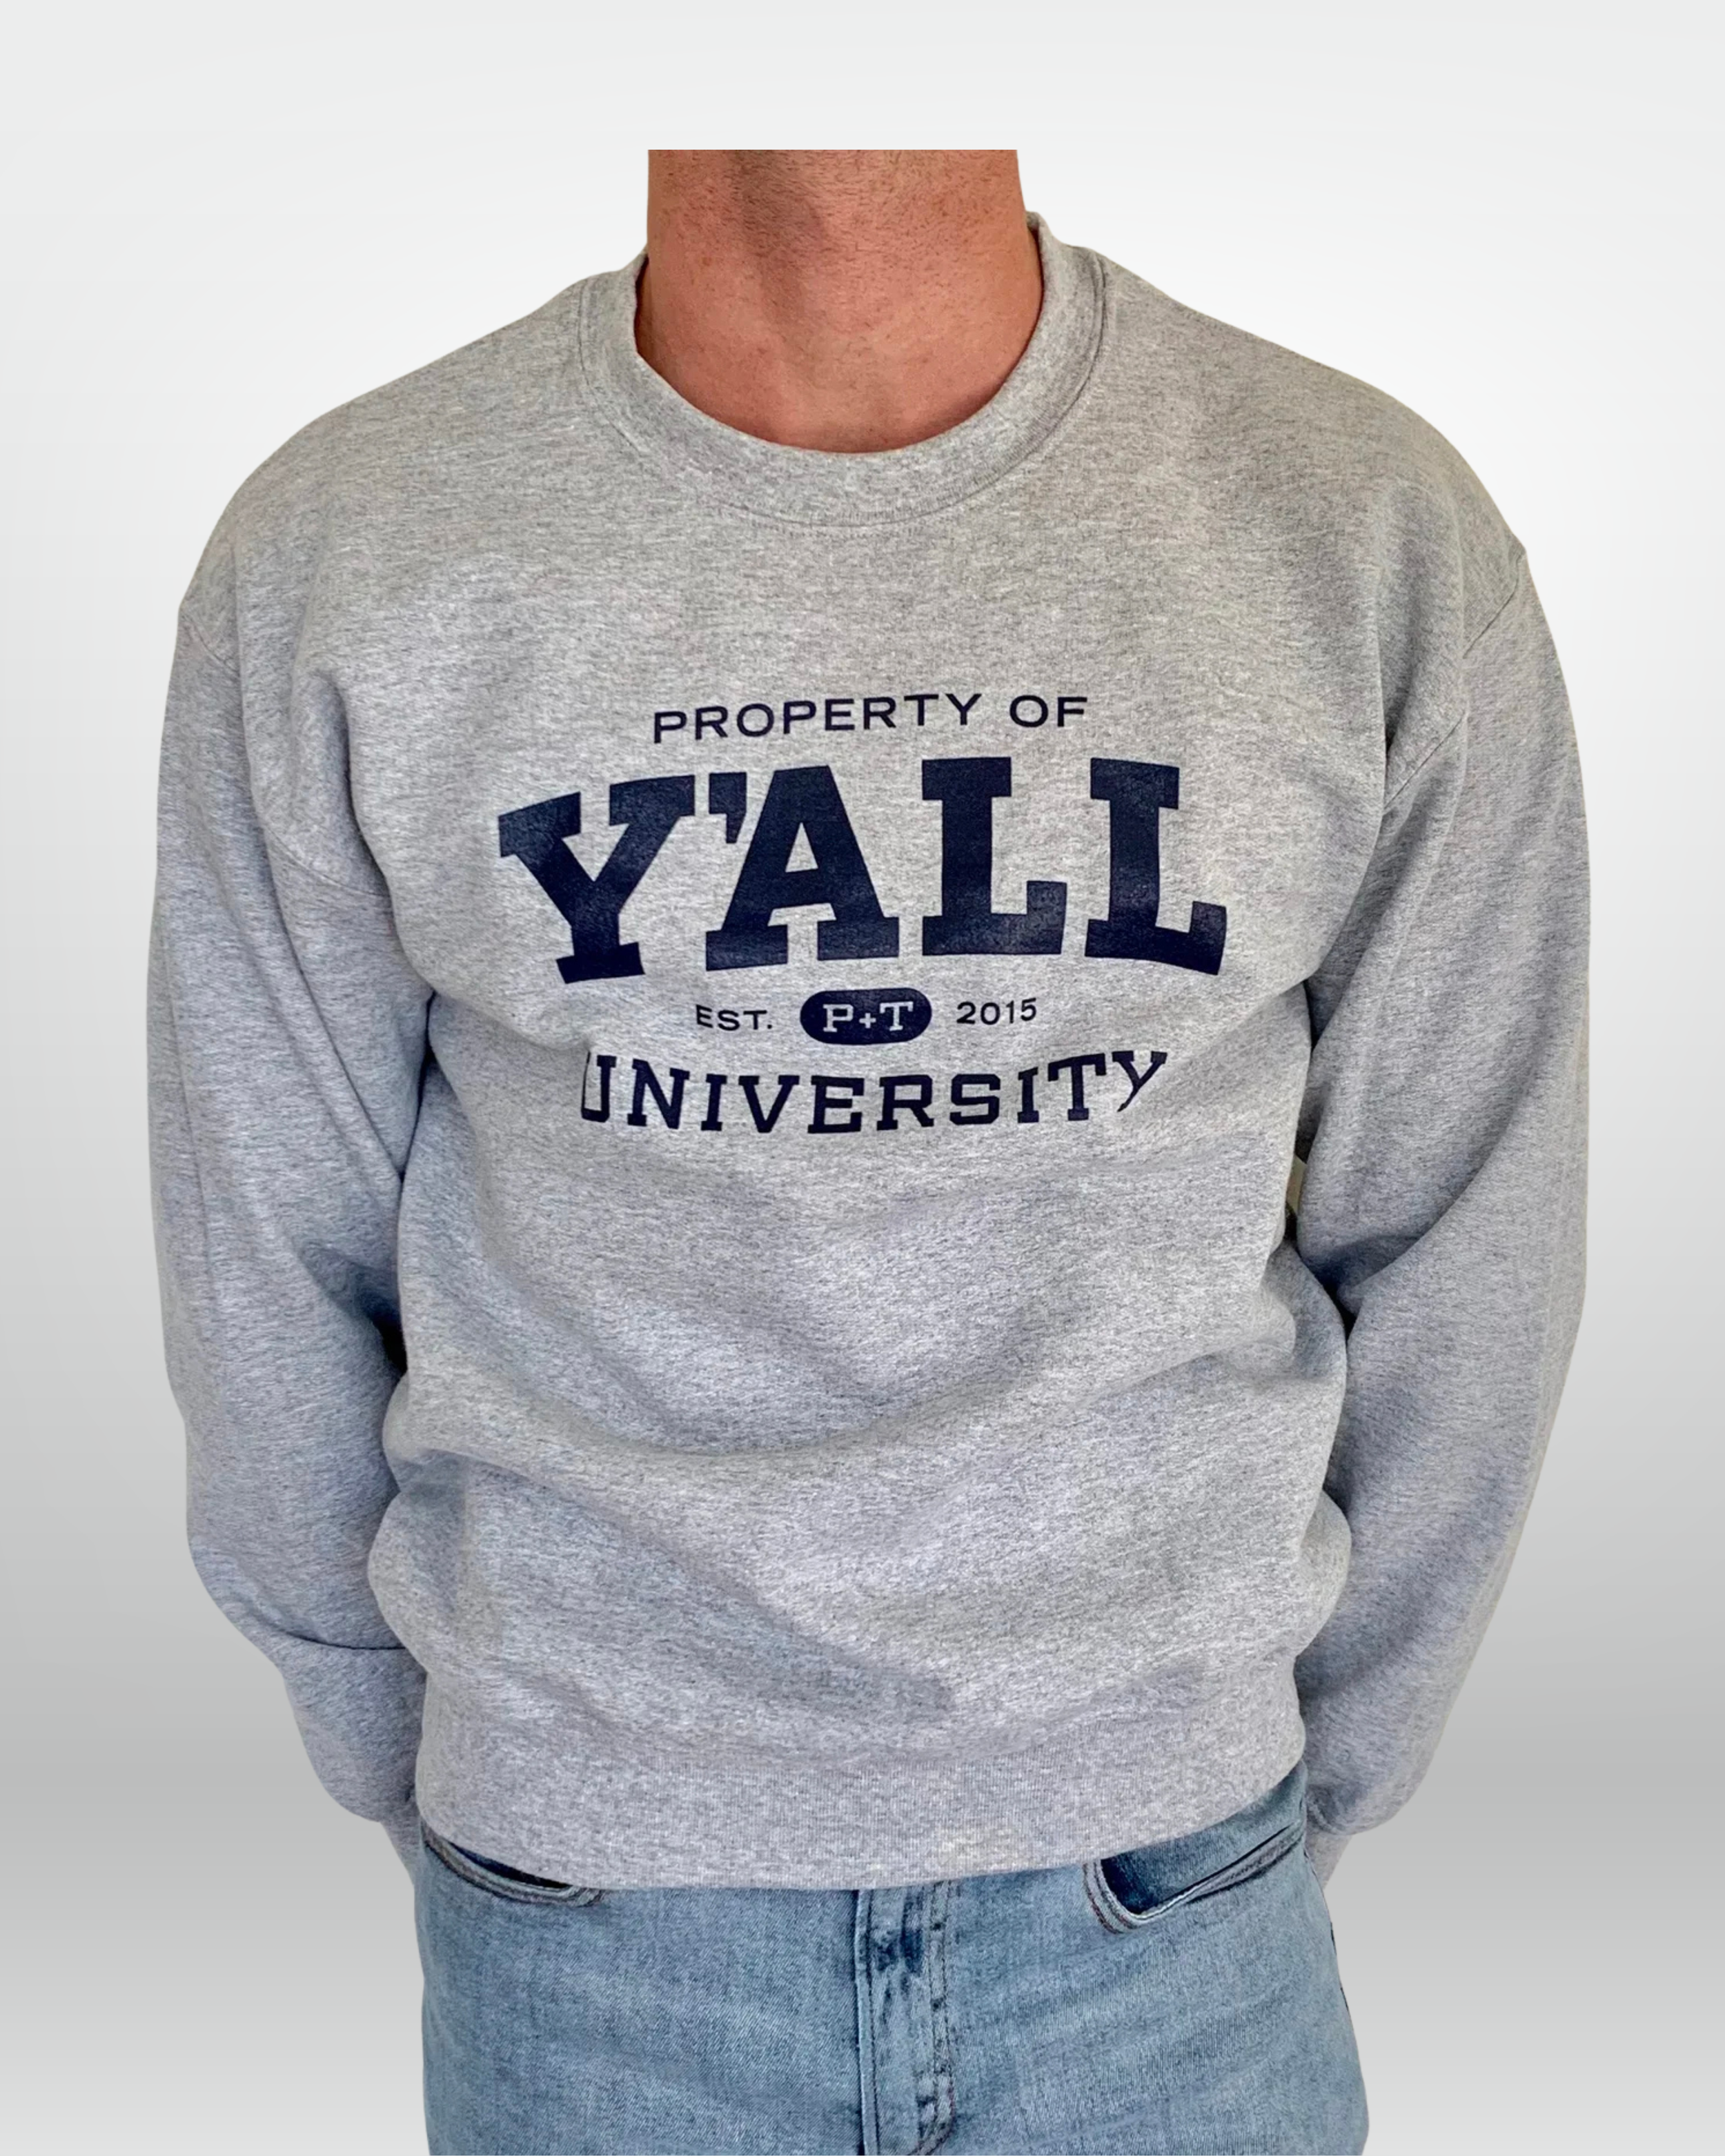
Our beloved sweatshirts are back for the first time in five years, and available for a limited time only.
Inspired by classic collegiate designs, the Property of Y’all University sweatshirt is our cozy homage to universities across America. It’s soft, relaxed, and perfect for layering through fall and winter.
Details
Care: Machine wash cold, hang dry to prevent shrinkage
Shipping: Currently only shipping to the United States
Returns
Returns are accepted within 30 days of delivery. Simply mail your sweatshirt back for a full refund.
NEW
Our beloved sweatpants are back for the first time in five years, and available for a limited time only.
Inspired by classic collegiate designs, the Property of Y’all University sweatpants are our cozy homage to universities across America. They’re soft, relaxed, and perfect for layering through fall and winter.
Details
Care: Machine wash cold, hang dry to prevent shrinkage
Shipping: Currently only shipping to the United States
Returns
Returns are accepted within 30 days of delivery. Simply mail your sweatpants back for a full refund.

A Family Affair
A Family Affair

Do You Want the House Tour?
Learn about our home’s story, how I grew up in it and how we bought it back and renovated it from top to bottom, and watch the tour we did with HGTV